Note to Mr.Parker
I will try to work on this over the weekend I ended up having to create more images tahtn i intended
Project #1
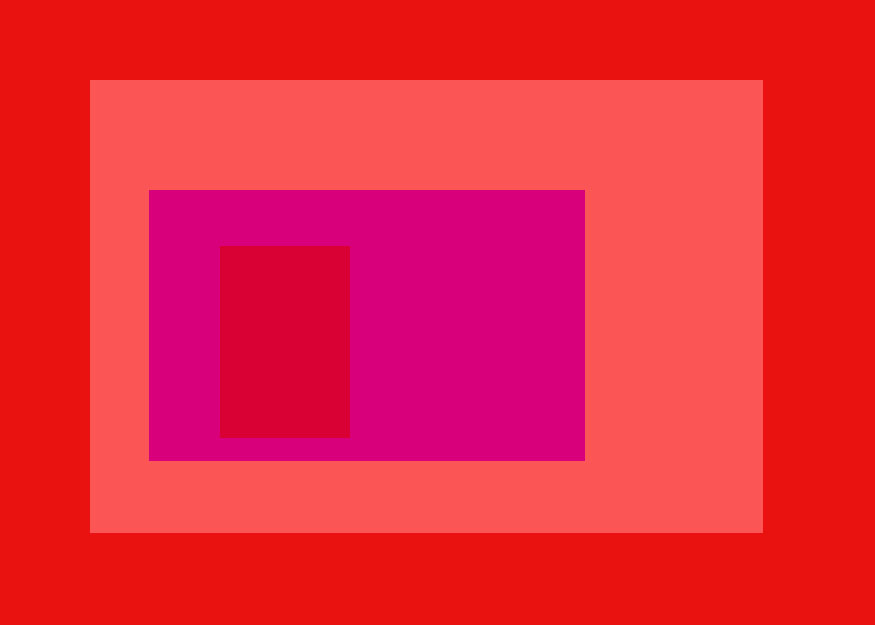
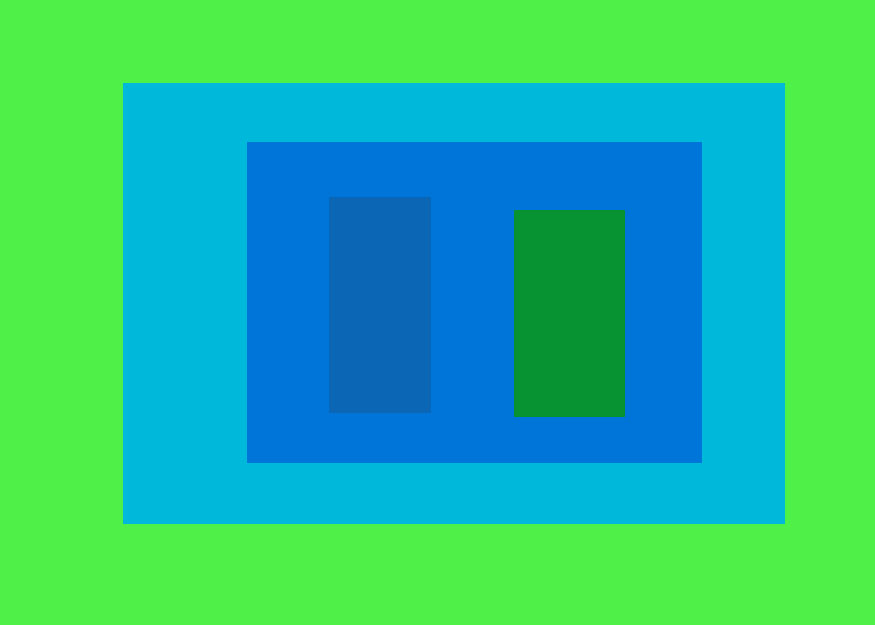
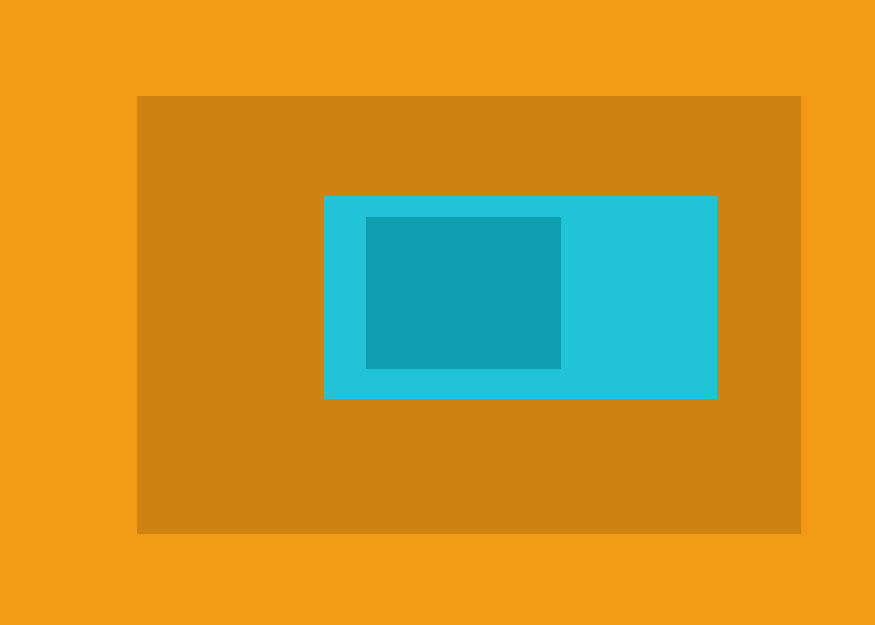
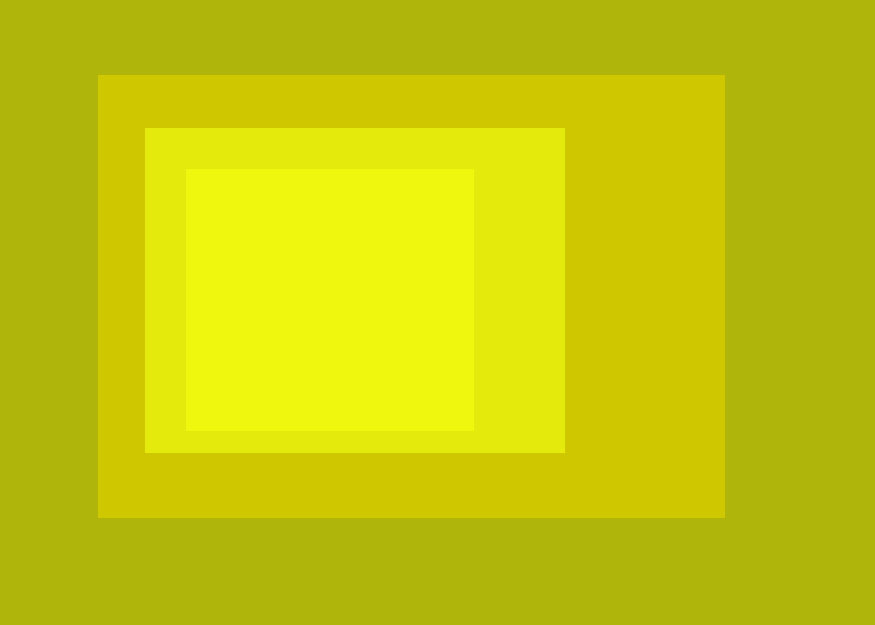
Josef Albers 1
|
|
Josef Ablers like Frank Stella were minimalist when it came to his art work
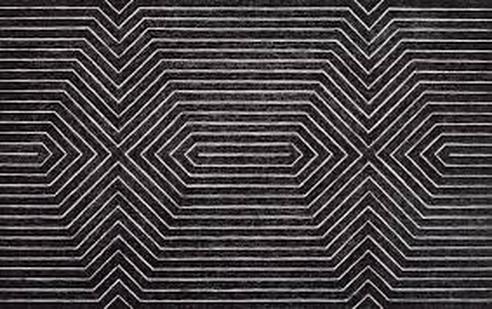
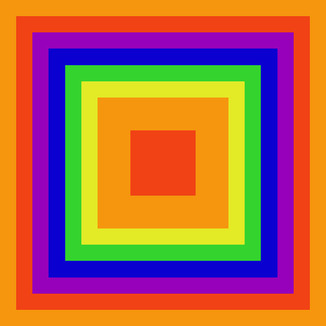
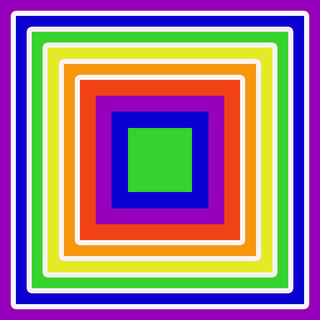
Project 2 Frank Stella
|
|
Frank Stella was a minimalist in his art work he chose often to use squares and contrasting colors. What separated himself from artist such as Josef Albers 1 is that he included White Strokes in between his colors.
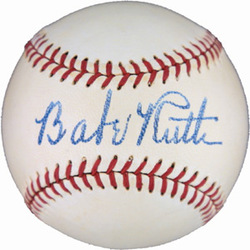
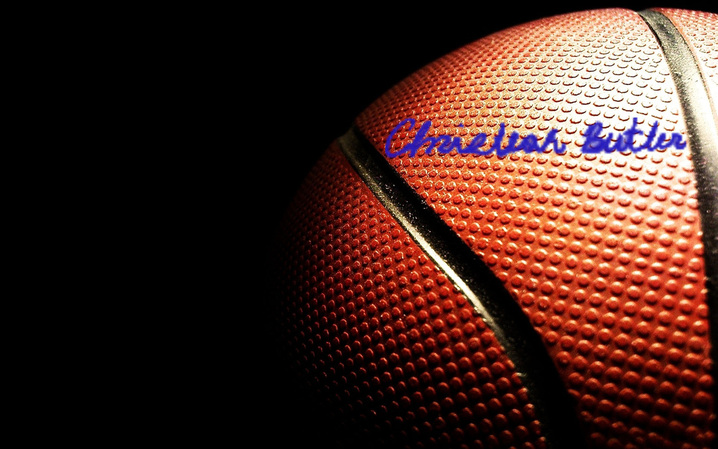
Project 3
|
|
We mad a signature
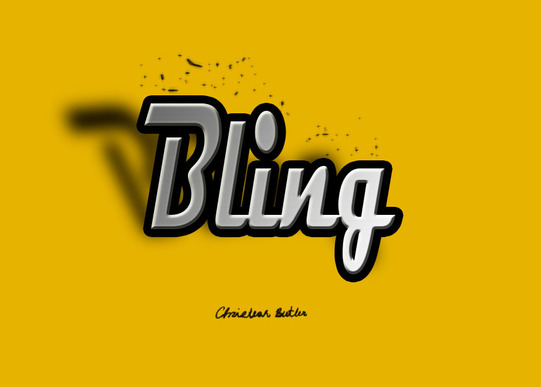
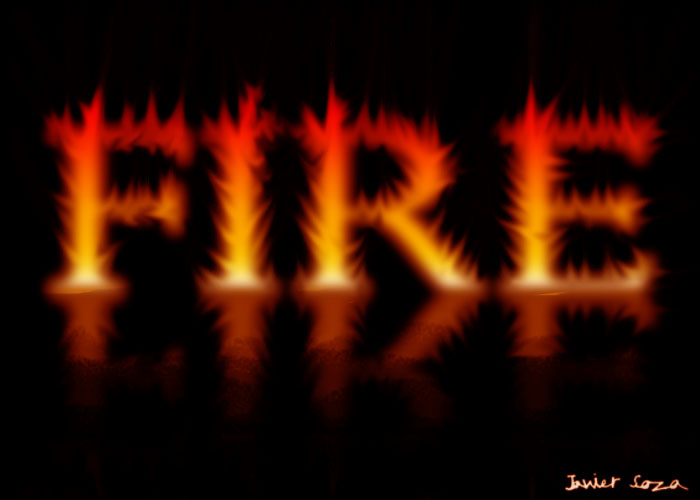
Project 4
|
We with worked with layer styles and learned how to create shadows
|
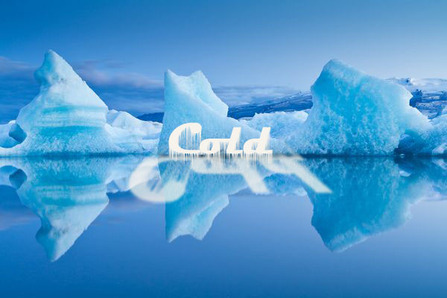
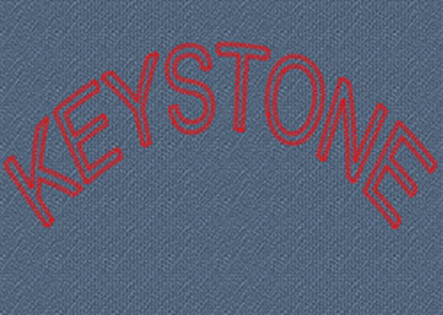
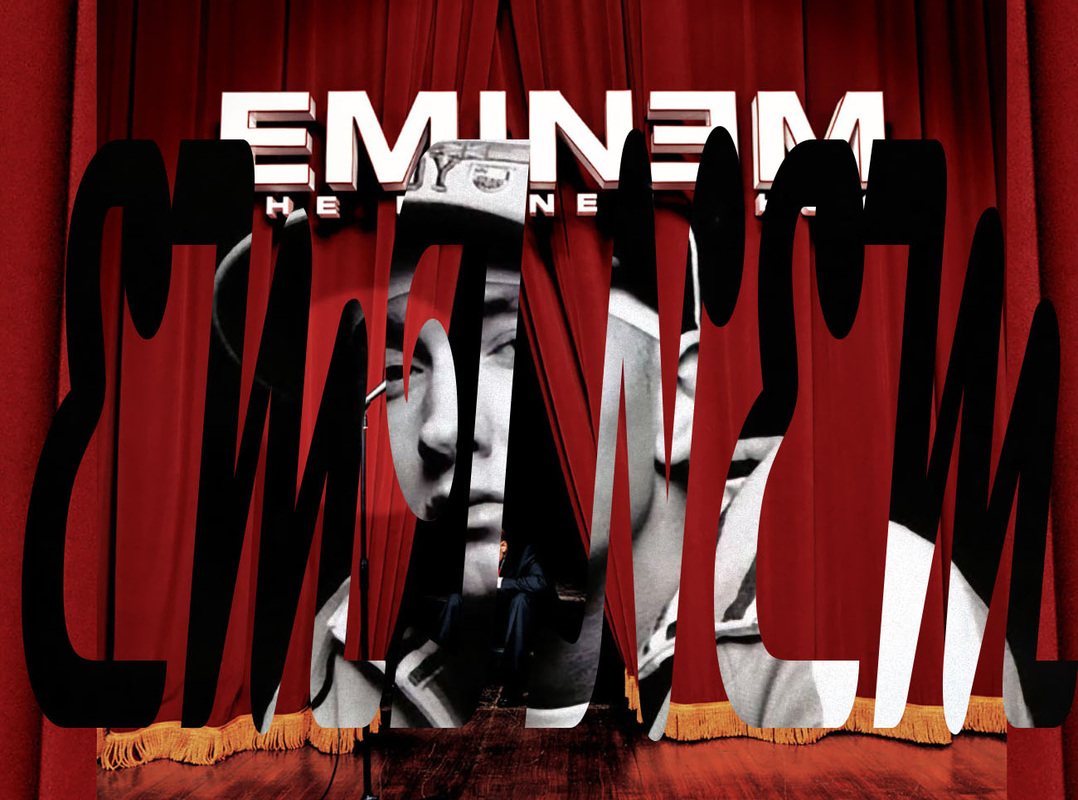
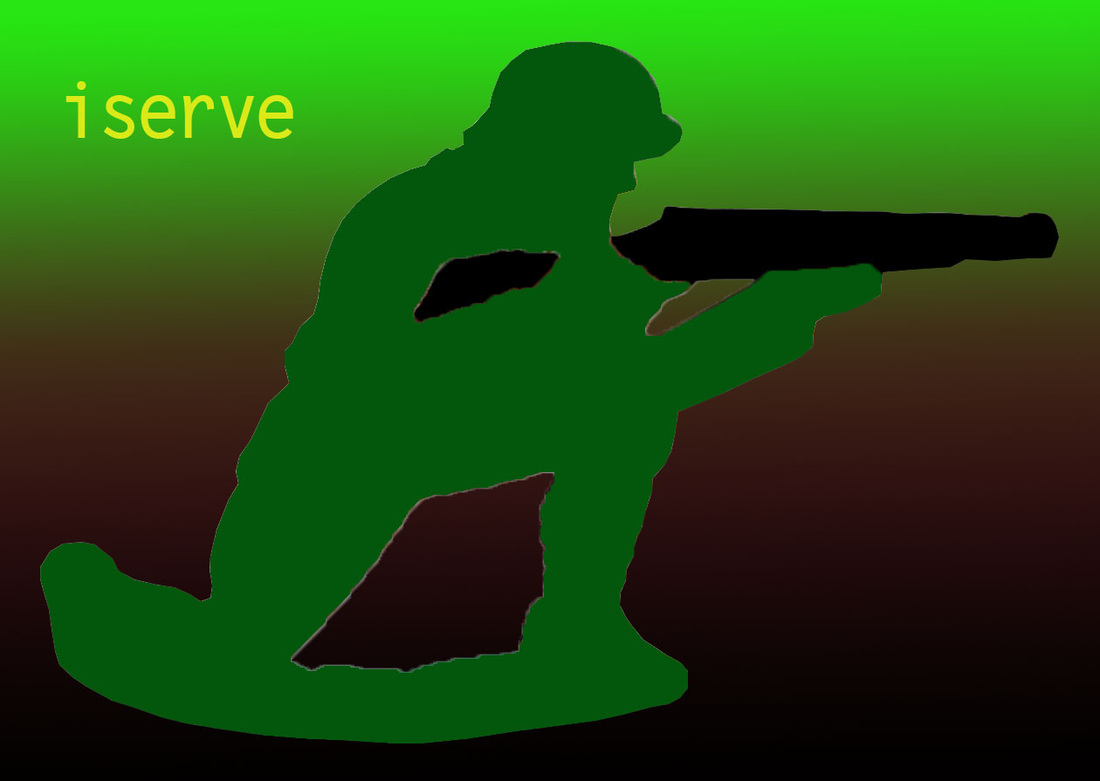
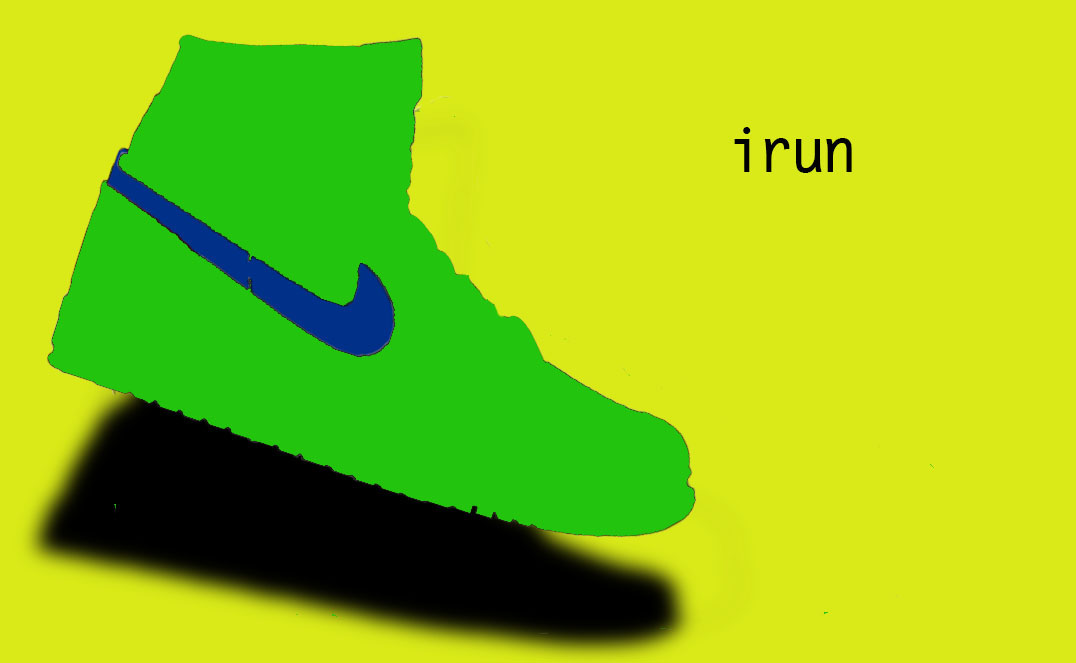
Project 5
|
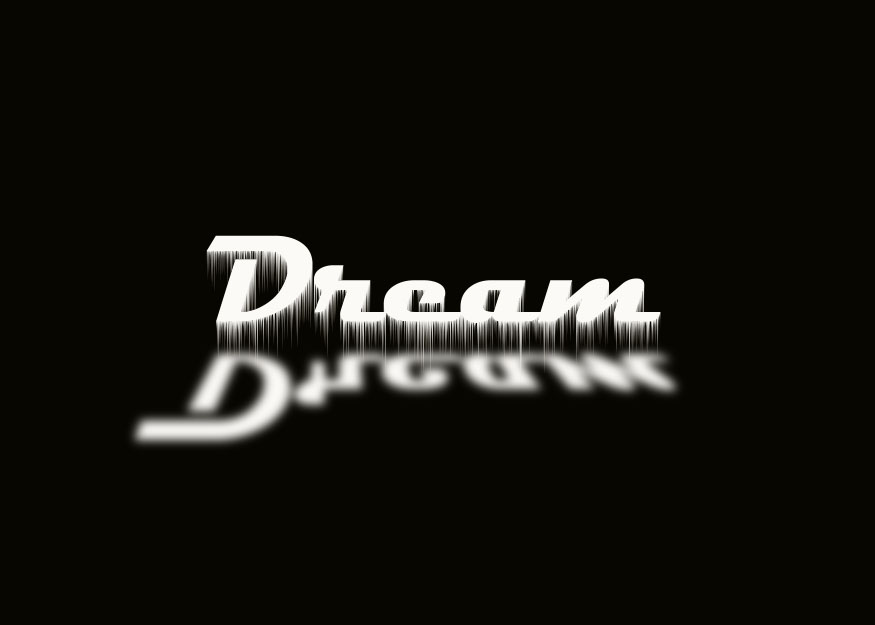
We created reflections and used the wind tool to create a dripping effect. I started with the cold and created my own version my patrol name.
|
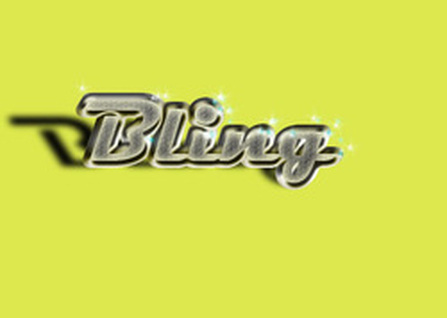
Project 6
|
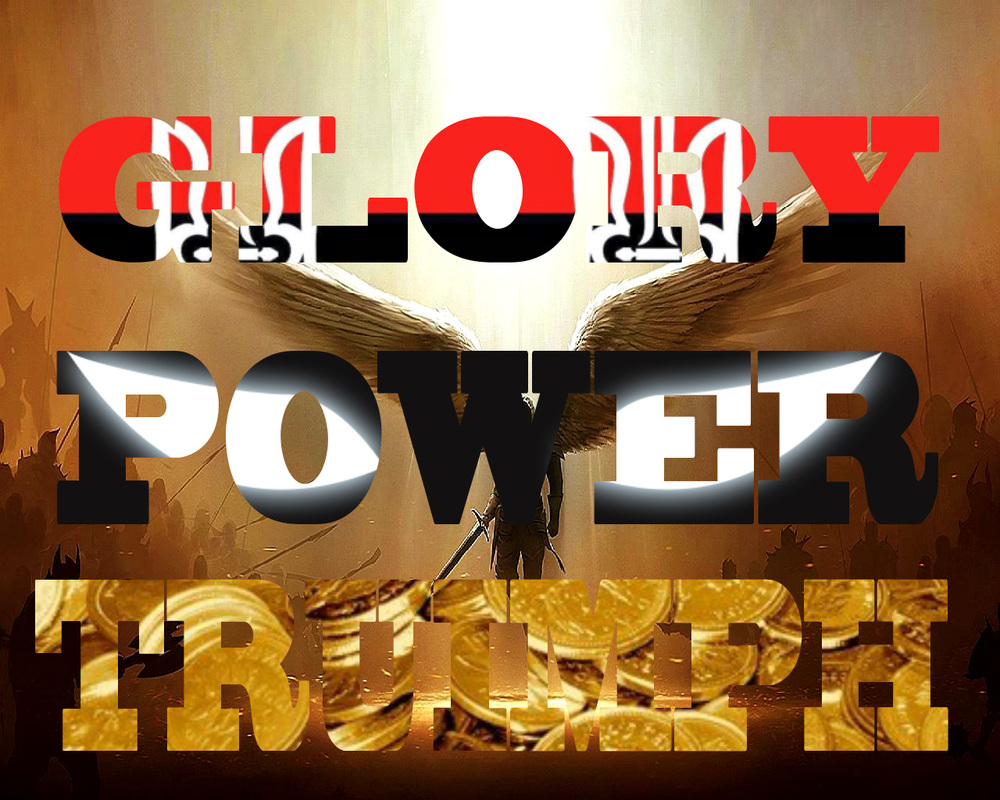
We used a shading for the text
Rateraziton is under type |
Project 7
|
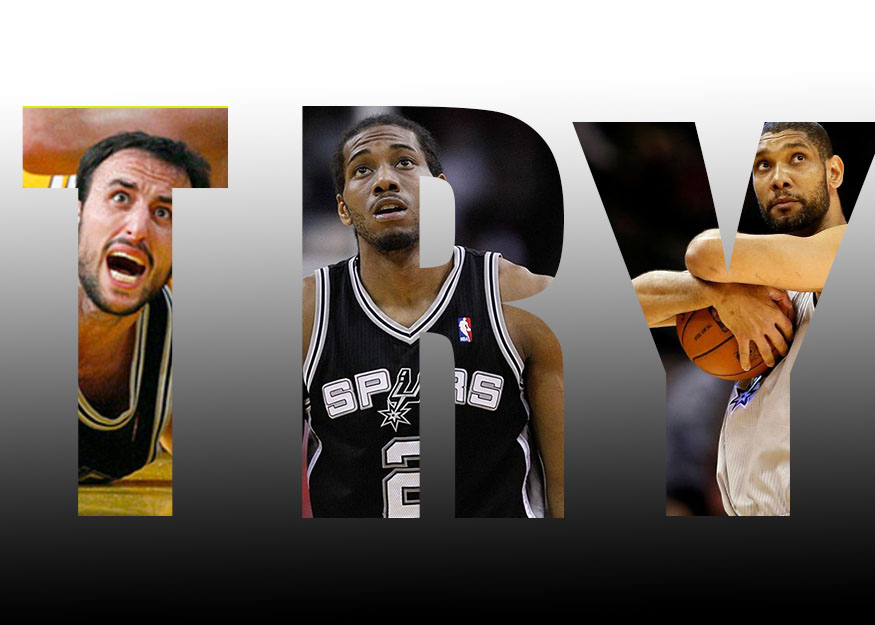
this is a testament to what i have learned
|
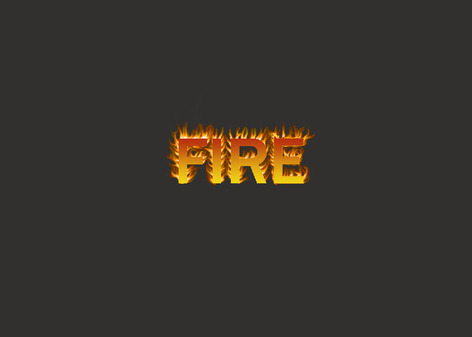
Project 8
|
|
We modified teh iner adn outer glow. I did have problems with this assignment nut i do belive it turned out quite well
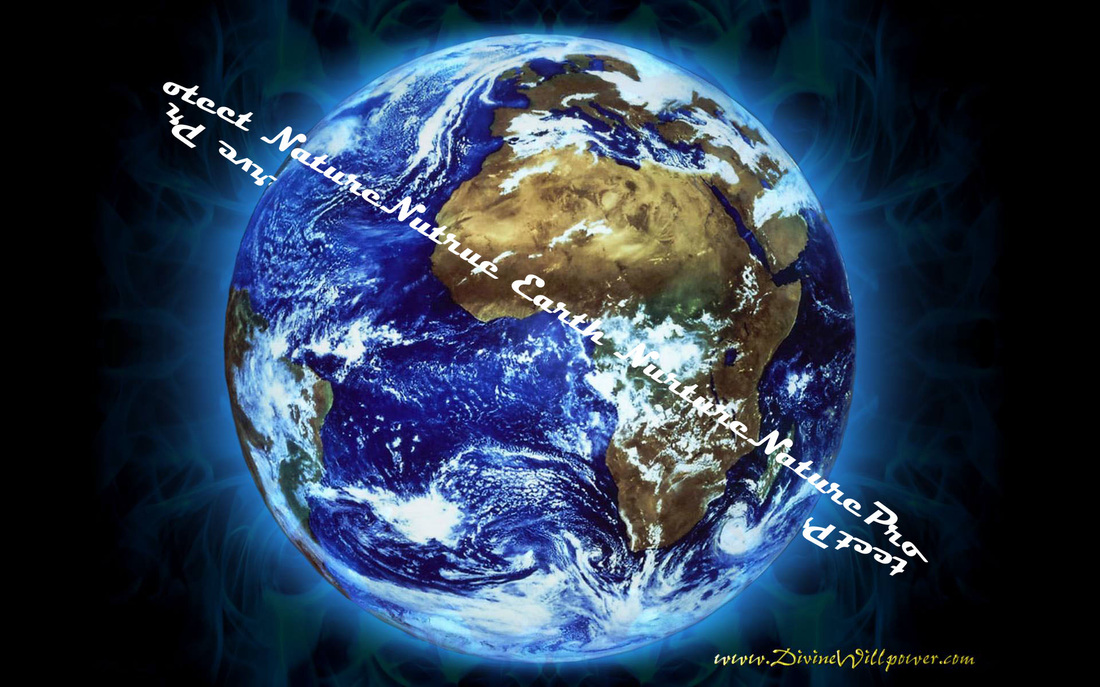
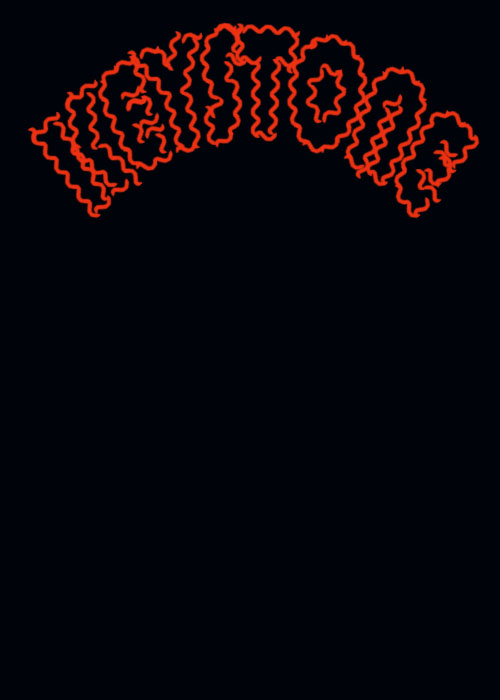
project 9 Word Paths
|
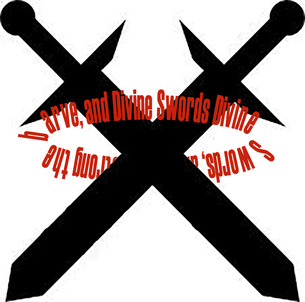
i used the word path and the eliptical tool to create words that circled the crossed swords
|
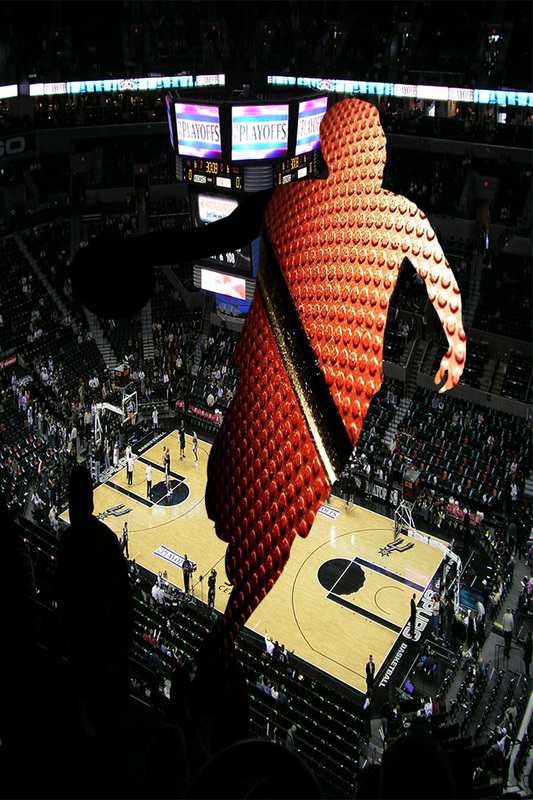
Project 10 Jersey
Guided practice
|
|
Project 11 Brush and stokes
Brush
|
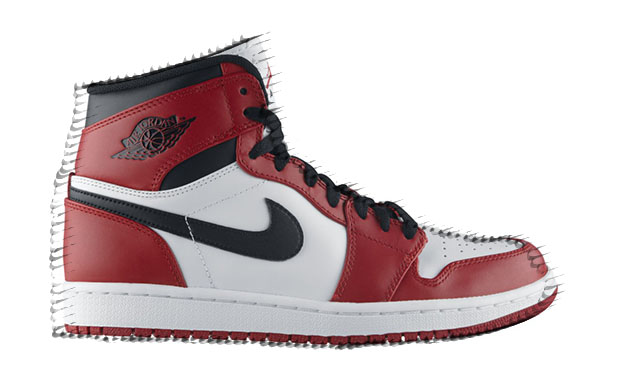
stroke
|
12 terracotta warriors
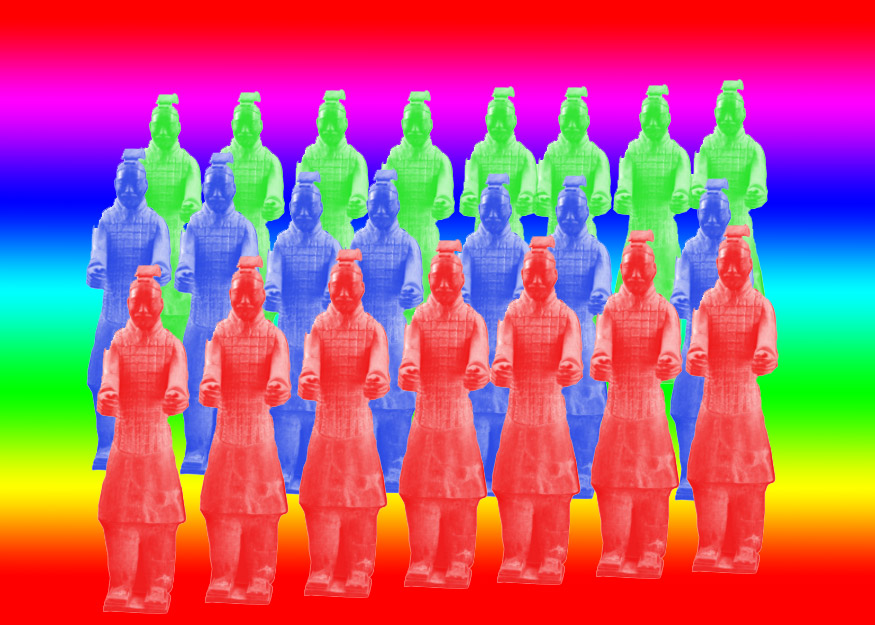
|
|
This off the instructions. I included this as a place holder
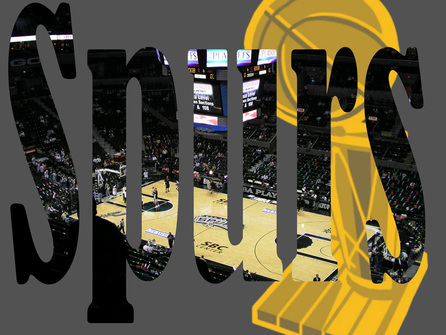
Project 13 clipping mask
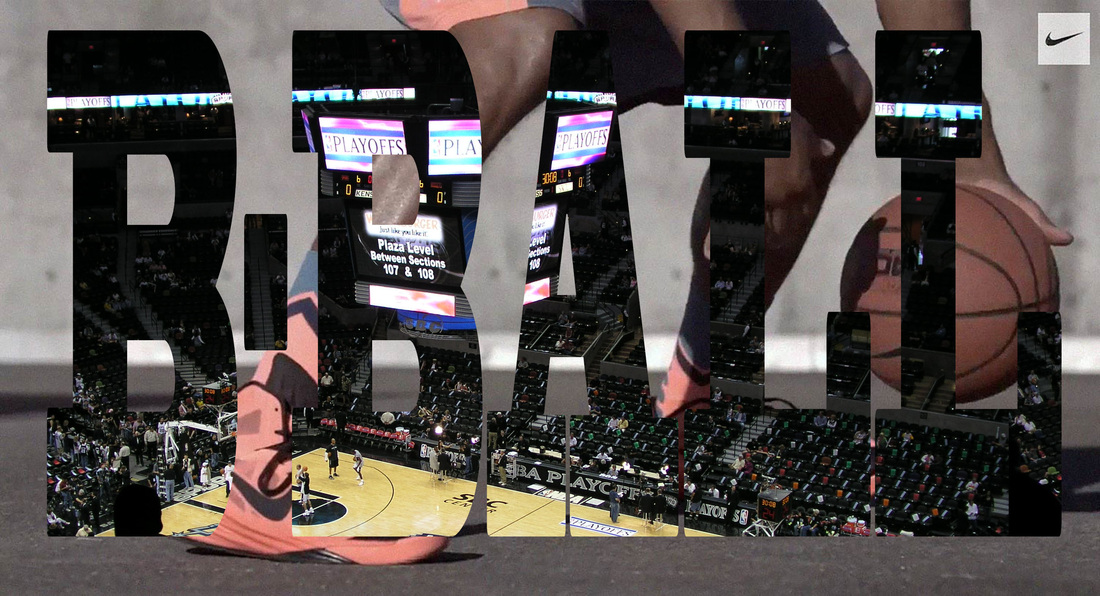
|
|

|
text mask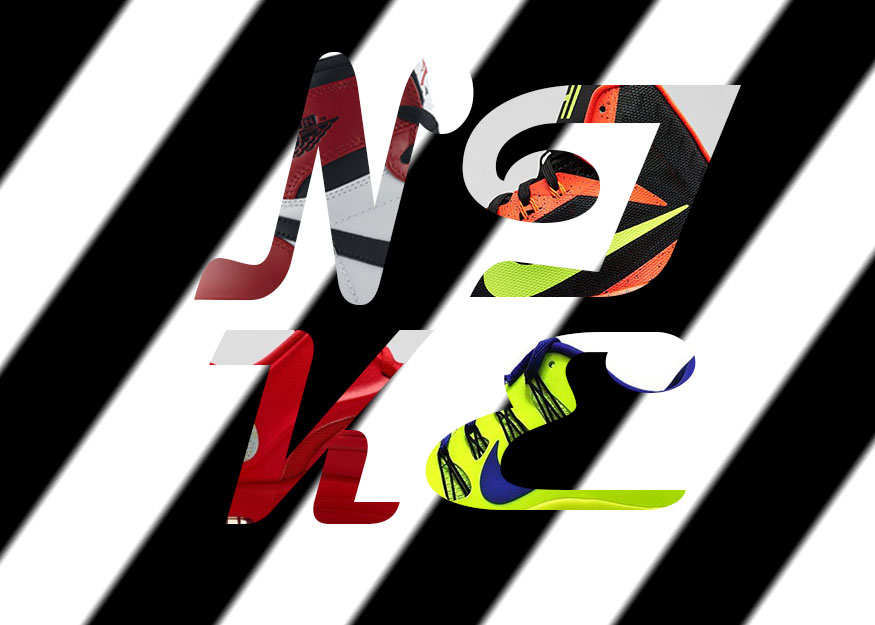
|
|
|
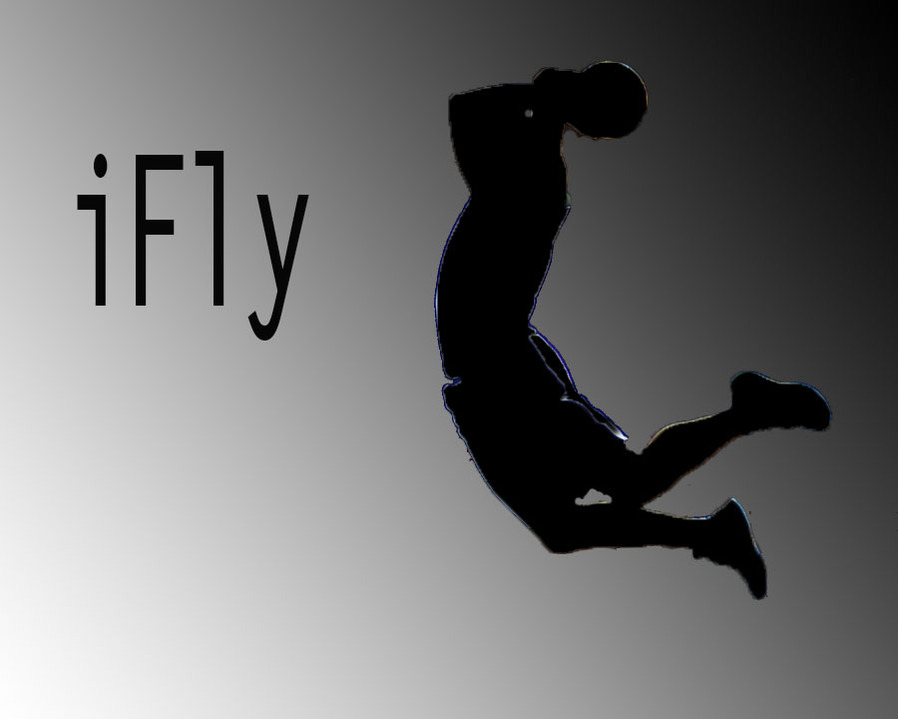
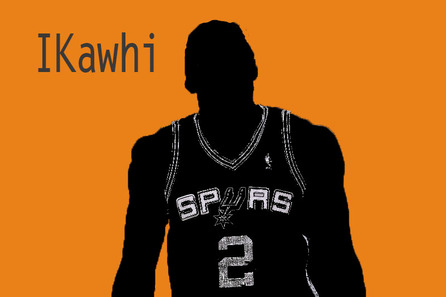
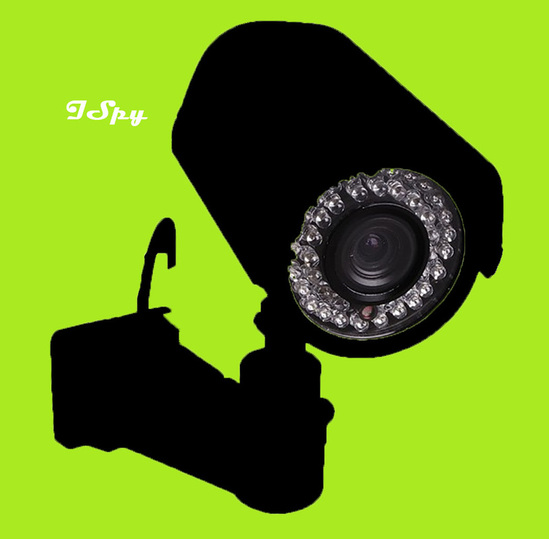
Project 14 iPod commercials
|
|
|
|
Project 15 select tool
|
|
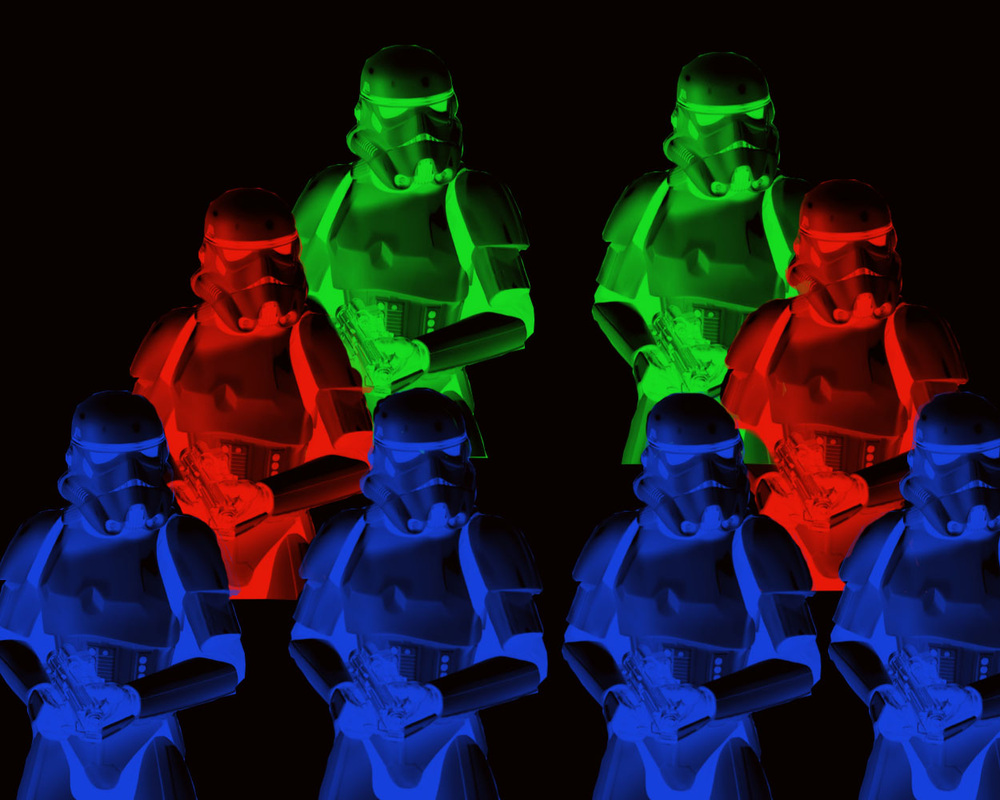
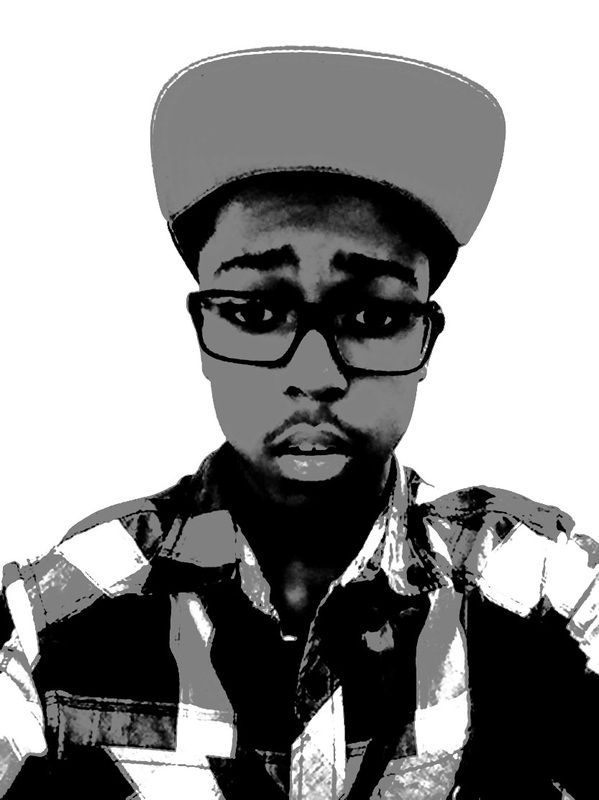
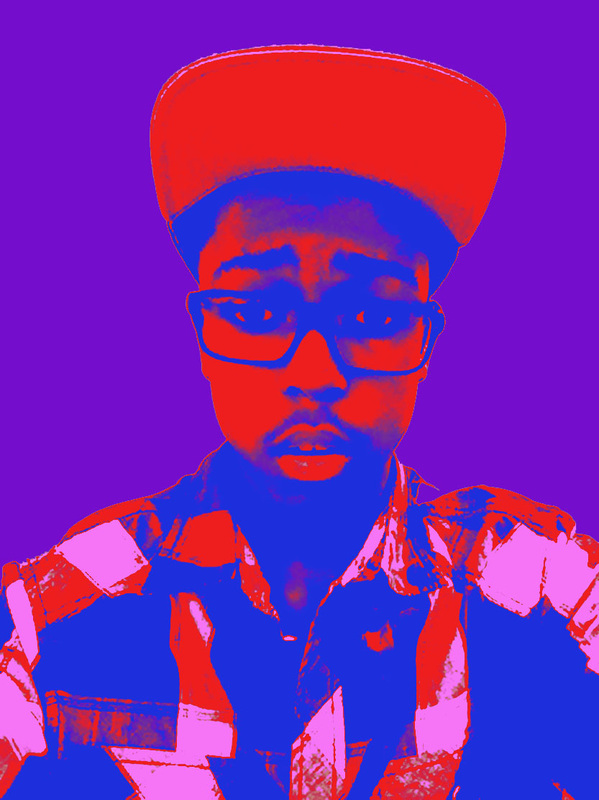
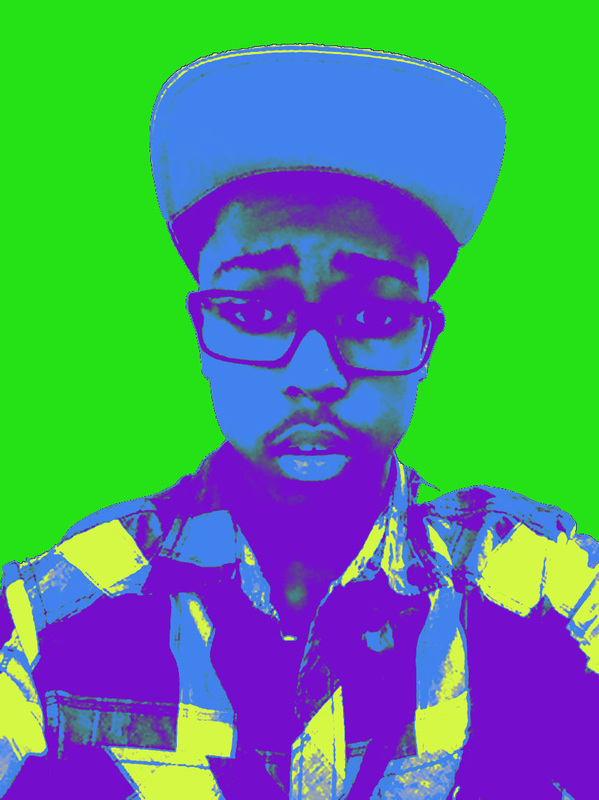
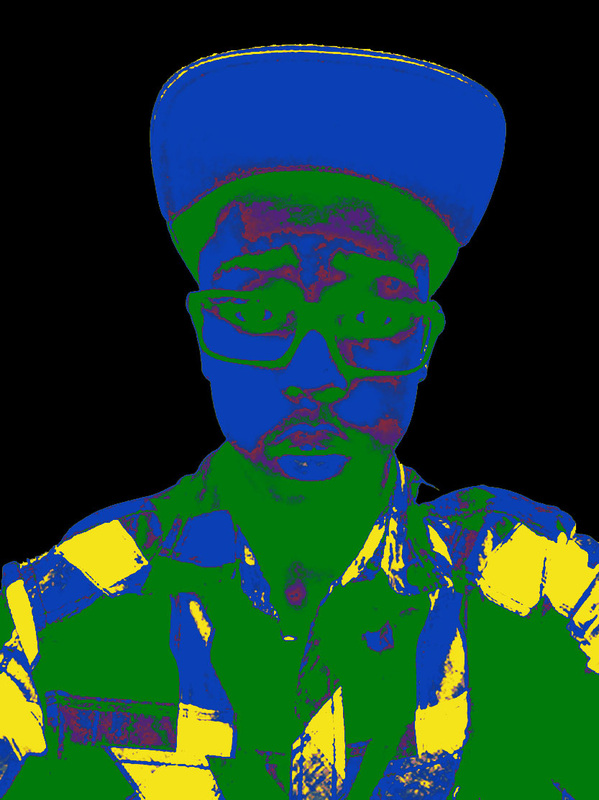
Project 16 Posterizing Tool
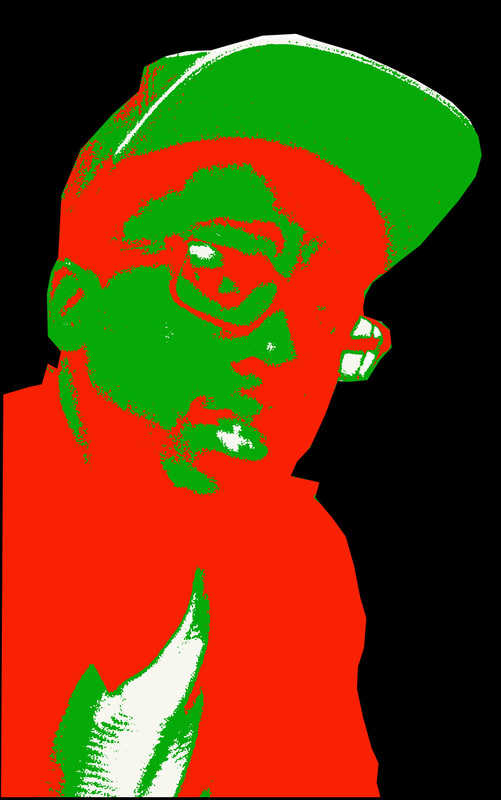
|
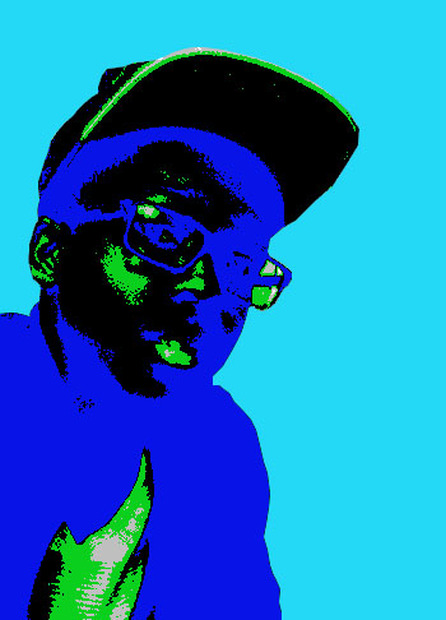
|
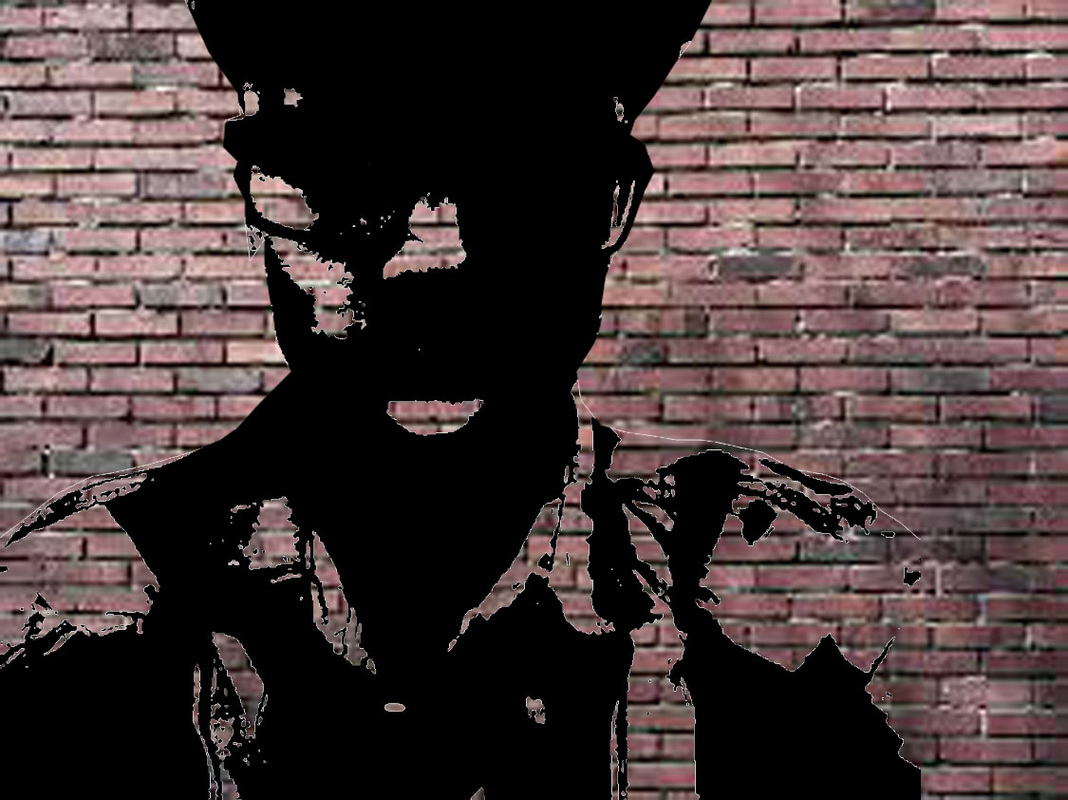
Project 17 Banksy
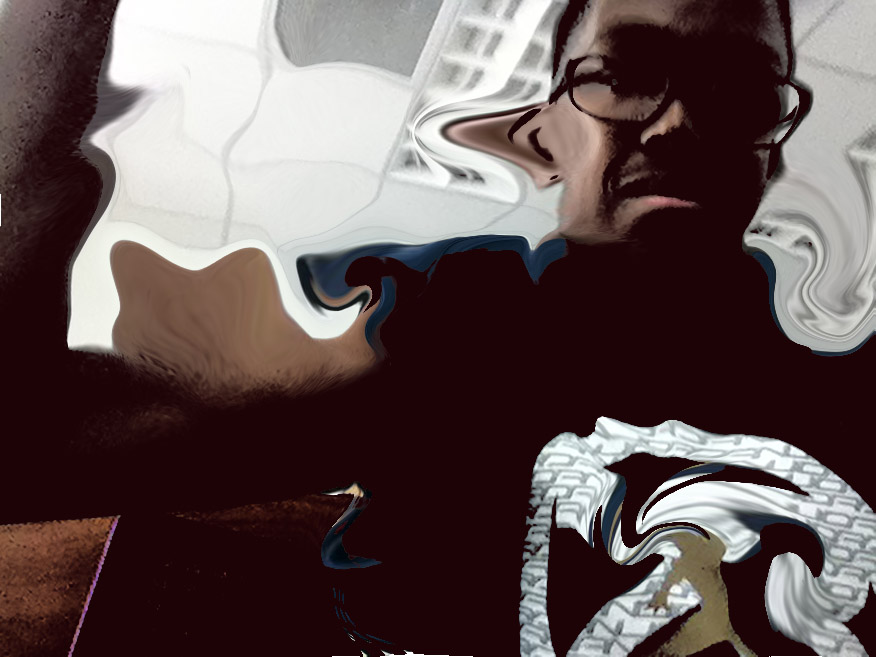
Project 18 Liquefy tool
|
|
Project 19 Vector portraits and Liechtenstein
Portfolio
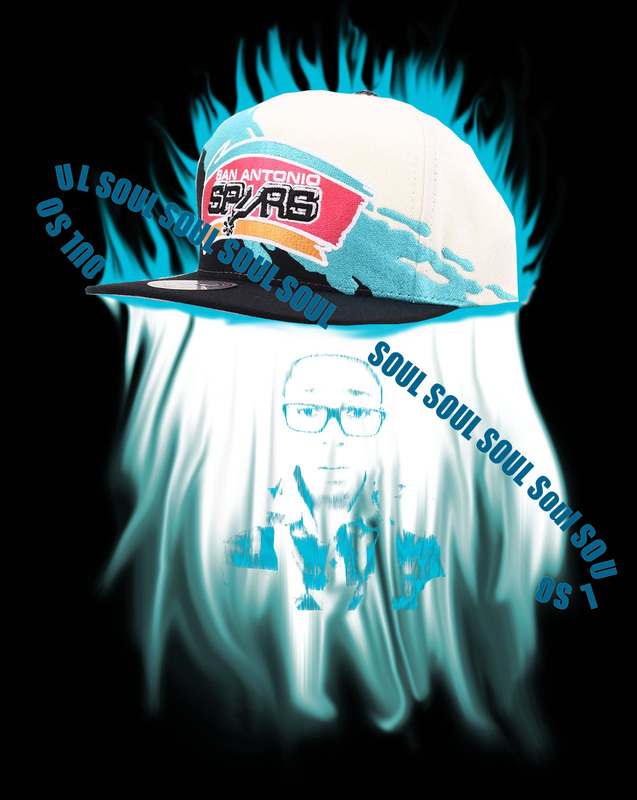
I used the pen tool to select the hat and created 3 copies of my hats. I used the smudge tool to create the blue flames and increased the size of the tool when creating the blue flames. I then created the white flames by increasing the size of the blur tool pulled down giving a dripping effect. I finished by opening a picture of myself selecting the shadows and putting them on a different layer. I then rotted the shadows and applied the wind tool to the top and the bottom so it looked distorted. I then changed the color of the shadows to blue, and finally embedded the shadows.
Portfolio 2
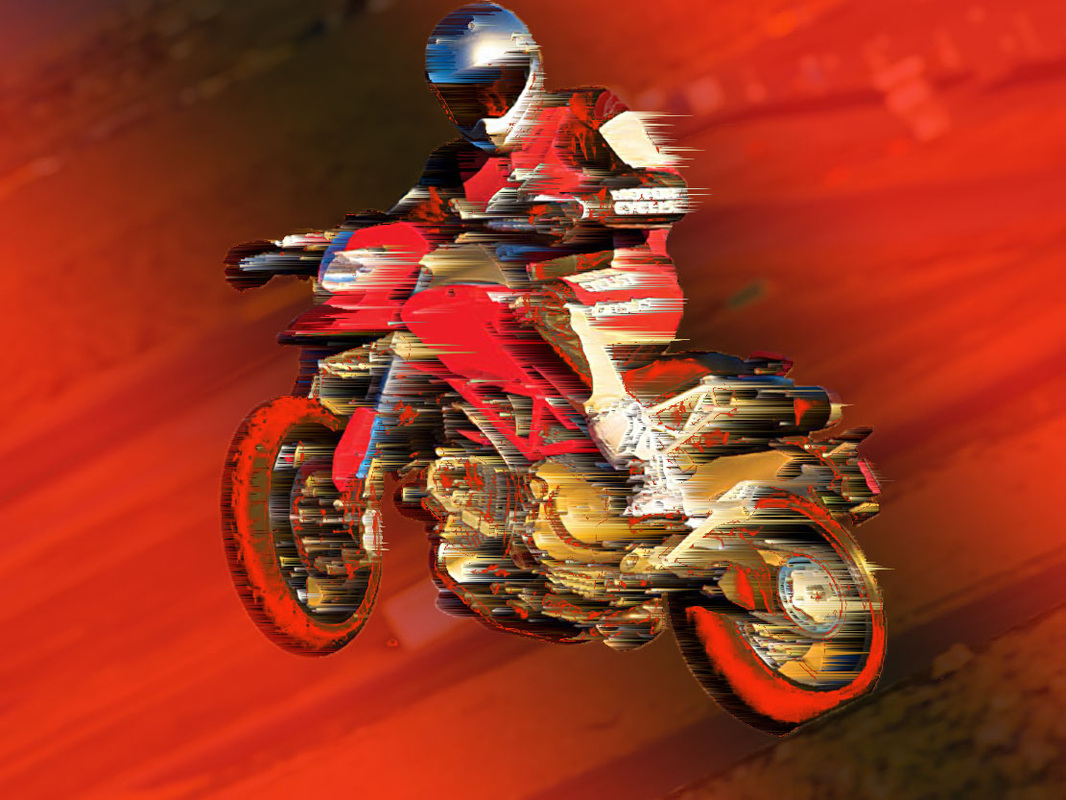
The background was created by creating my own gradient, then creating a new layer and applying the gradient to that layer. I then adjusted the eraser tool and increased it's size. But the most important thing i did was change the opacity of the eraser tool then i erased the entire gradient. As a result the gradient appears transparent.
I created the read tires by selecting all of the black in the image and using control+j to put it on a different layer. I then reselected the black using the color selection tool a and change the color using the fill tool.
The blur effect was created by going back to the original image and selecting the motorcyclist I then applied a wind, under the filter tab, effect 2 or three times.
That is how i created this motorcyclist.
PS. I think if i had to do this again I would have use the quick selection tool and select only the bike or only the cyclist and rotated the them so that when i applied the wind it would look like a " light trail" from tron legacy.
